New golf clubs can be a hefty investment and one that should be kept clean. Cost aside, no one wants to look down before taking a swing to see a dirty club head staring back at them. As well as looking awful, they can affect your game with dirt in the grooves altering the way the ball spins.
How to Clean Golf Clubs
We decided to create a guide so you can help your golf clubs stay as shiny as the day you bought them. The 5 step technique below is only recommended for irons and wedges, we’ll touch on cleaning other clubs later in the article.
1. Gather your equipment
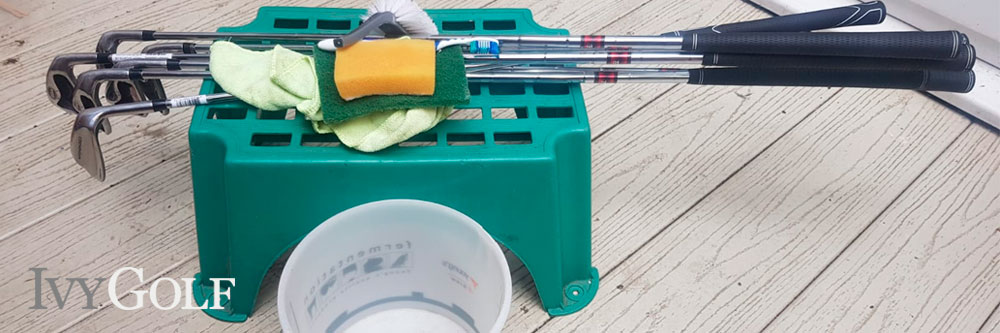
We recommend gathering the following before you begin:
A bucket or washing up bowl
Fairy liquid
An old toothbrush
A small scrubbing brush (make sure the bristles are soft plastic)
An old towel or a rag
2. Prepare your Bucket and Water
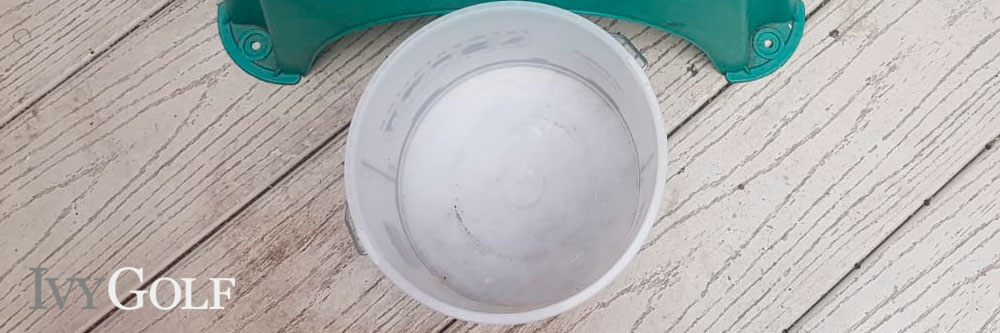
You’ll want to put your bucket or washing up bowl in the sink, before adding a squirt of fairy liquid. Next, add enough lukewarm water to cover the heads of your clubs but not the ferrules. Submerging these in water could risk them loosening. Once you’ve added your fairy liquid and water, take the bucket away from the sink (outside if possible). Splashing muddy water around your home is not the best way the start.
3. Soak Your Clubs Before Scrubbing
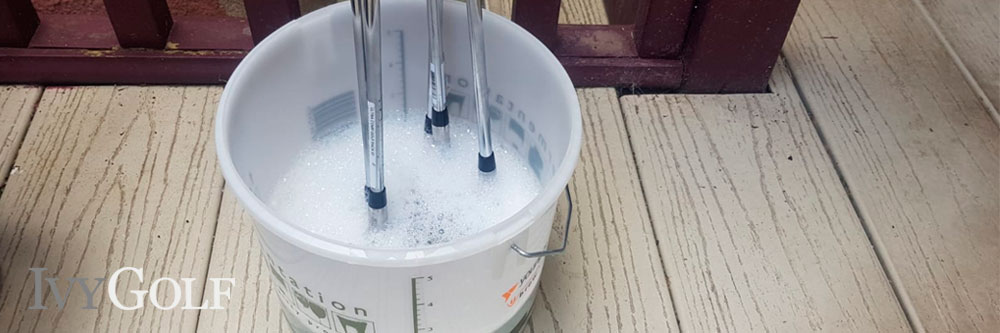
Now it’s time to give your clubs a few minutes to soak in the warm soapy water. This will help to loosen any dirt and will make getting the mud out of the grooves much easier.
Once the clubs have had soaked for a while, they’ll be ready to scrub down. Use the old toothbrush or your scrubbing brush to scrub the dirt from between the grooves. Once they’re dirt-free check around the head of the club for more and remove it.
4. Rinse
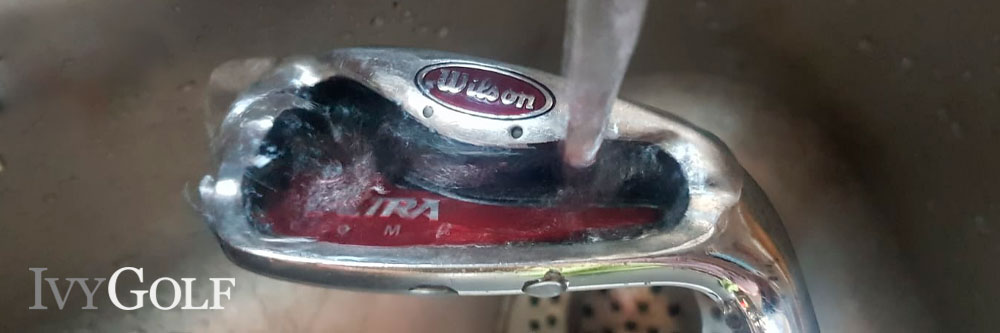
Now that you’ve got the dirt off the club heads, to avoid them drying dirty again you’ll want to rinse them off. If you’re outside and have a hose, this would be perfect but if not use a tap and some cold water.
5. Dry
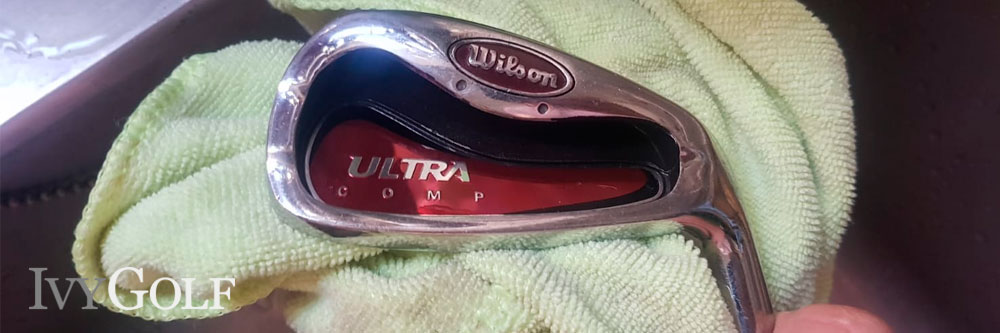
Now that your clubs gleaming all that’s left to do is dry it. Use your old towel or rag to dry around the head of the club, and run it up to the grip via the shaft. If you need to clean your grip make sure you dry it afterward too. This should leave you with a club that’s clean from top to bottom. Drying really is a vital part of the process and putting a wet club back in the back could encourage rusting.
Cleaning Other Clubs
When it comes to cleaning other clubs such as your putter, and drivers we’d recommend you avoid submerging these in water. Instead, refill your bucket with clean water at a lower level and dip the clubs in a little, wiping down with a cloth or a brush if necessary.
As you did with your irons and wedges use a clean towel or rag to dry the clubs and wipe upwards until you get to the grip, drying the grip if needed.
Forged Irons
It’s worth noting that forged irons are notorious for their vulnerability to rust spots. If you have got rust-spots applying WD-40 with a cloth is reported to help with these. We can’t emphasize the importance of drying enough, even more so given the rust susceptibility associated with forged irons.
Avoid Scratches
It’s vital you avoid using harsh scrubbing techniques, or brushes that have bristles which may damage your clubs. Be gentle when it comes to cleaning your clubs, the last thing you want to do is scratch them. It’s essential you let the soapy water do the leg work. If you find some dirt is proving especially difficult to budge, try leaving that club to soak a little longer. If it’s a club that you can’t submerge in water, patience is key.
Keeping Your Golf Clubs Clean
Keeping golf clubs clean is a measure that should be taken by all golfers. It’s key to ensuring your clubs last for a long time as well allowing the grooves to do their job properly. Not to mention, with the sun bearing down on you a shiny golf club looks much better than a dull and dirty one.